Topology
- Nicholas Yamamoto

- Jan 11, 2022
- 3 min read
First of all, you gots to use the least amount of faces you can because if you do it shading becomes w0nky. So, first of all you need to plan out your topology. Well be doing this on multiple cars, lets try doing it on the Civic Type R. Bam image

Were going to use the paint.net to draw the lines

so were going to first draw all the sharp lines and panel gaps also body lines th
Were going to draw the toplogy lines, as if we were using subsurf, but we are going to basically using it to show how to make toplogy.
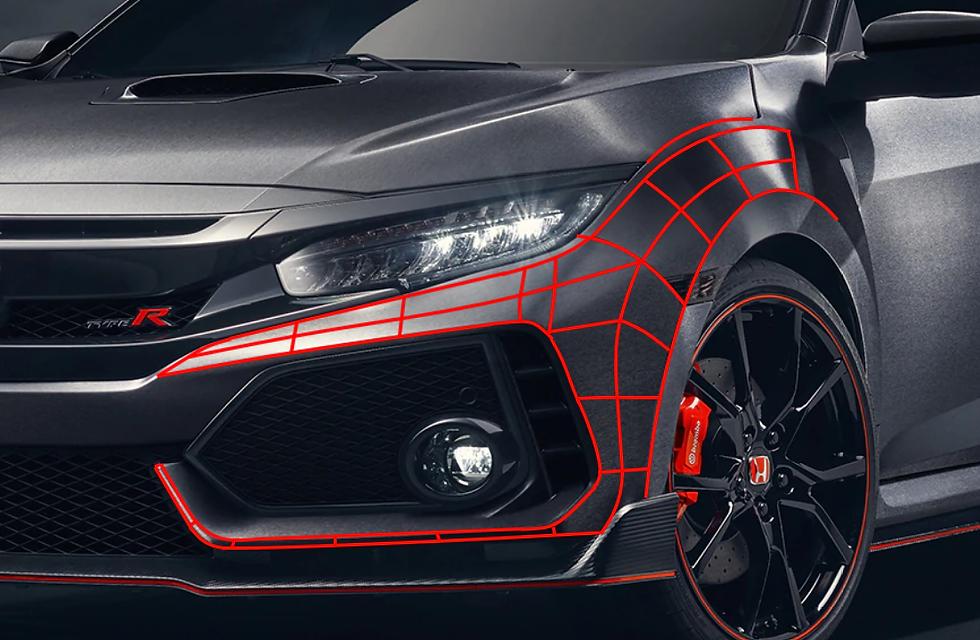
The goal is to plan out basic topology and use it as a guide, you can do that to the whole car but thats to much work so now lets try it on a model


Remember, you have to not use triangles, you can use them but make sure try not to use them.
Also try to keep the quads as low as possible because remember more dense, wacky shading. There is resemblance to the diagram we did earlier. So if you want to do the rest try following what you did with the fender to the rest of the car.

Ok so the red, if you look at the first pic, that's how you avoid bad shading
Usually start am extra curve
Everything but the rear quarter is perfect but I fixed that, I may show it later
But as you can see with yellow, that's a cheat. In some places you can cheat and not have to add loops
So it can be curvy without all the extra parts
And notice how most parts have an equal amount of tris. Like the fender to hood. Most of you don't every do an even amount and if you dont, you dont do it properly


Line it up as usual
Ok so
It's all about being even.
An even amount ensures proper and smooth distribution
Rule #1 don't be dense
If you add to many edge loops at once, you'll end up with wrinkles, bad topology and high poly
Make sure you have a vertex for vertex like tis. an even amount

Then this is where most of you screw up

you tend to add edge loops because it simply just won't be even.
don't do that
Sometimes adding loops helps like in this case.

not always. sometimes just cut and use tris
it's ok to
Now some of you don't know what to do here


Then fill. you can add more edge loops and smoothen it out,
this is where tris are ok
Most of you would've cut like this but thats a no

So If you keep an even amount Like this, start off low poly and increase as needed, you'll end up with good topology

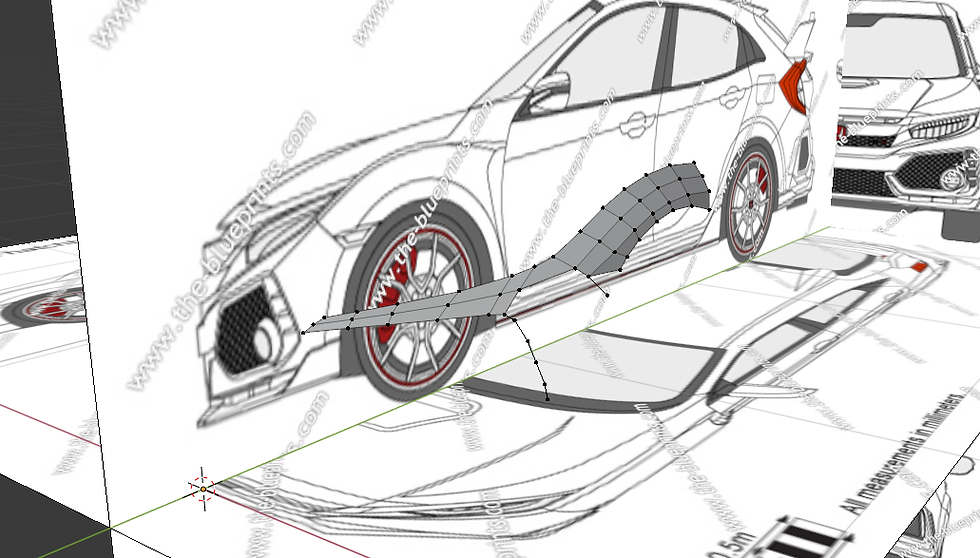
So now let's try it for the z tune
let's take a look at this

notice the fender
it's smooth and it's round
lets turn on matcap and see if it matches up

no
this is where the shading fix come in
density is key. i know i said density was bad but in this case it's not
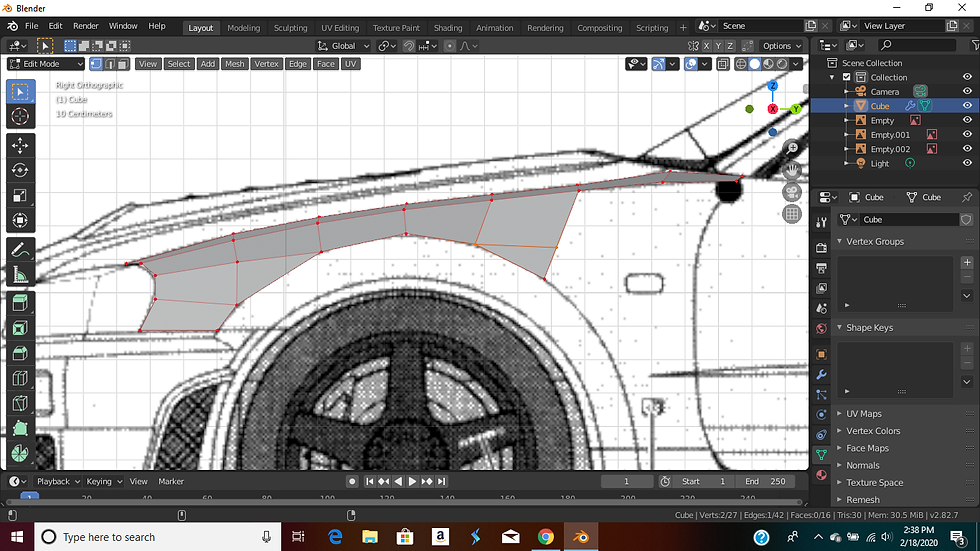
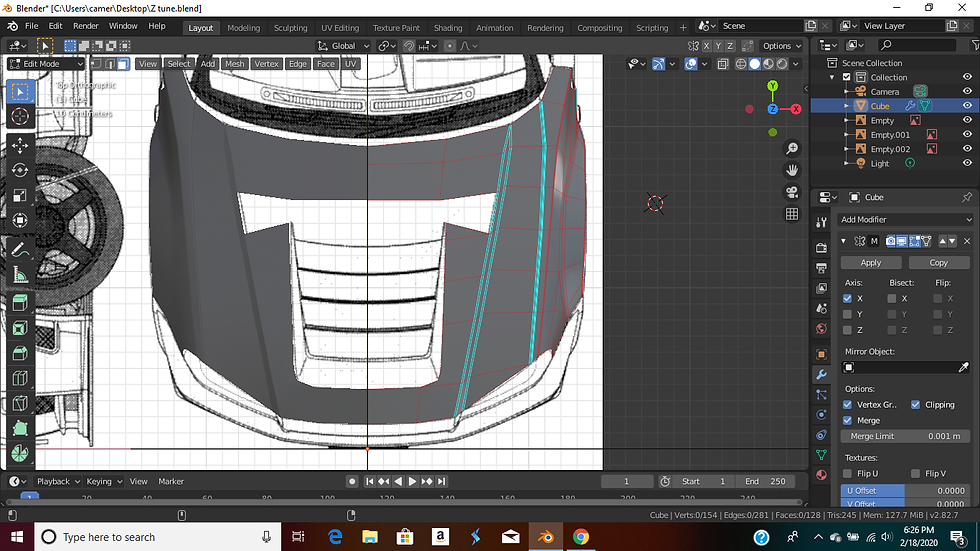
when you want to achieve the proper shading where theres creases, do this
Select those edges

press ctrl+b to bevel and scroll up and down to add as many loops as needed
and bam

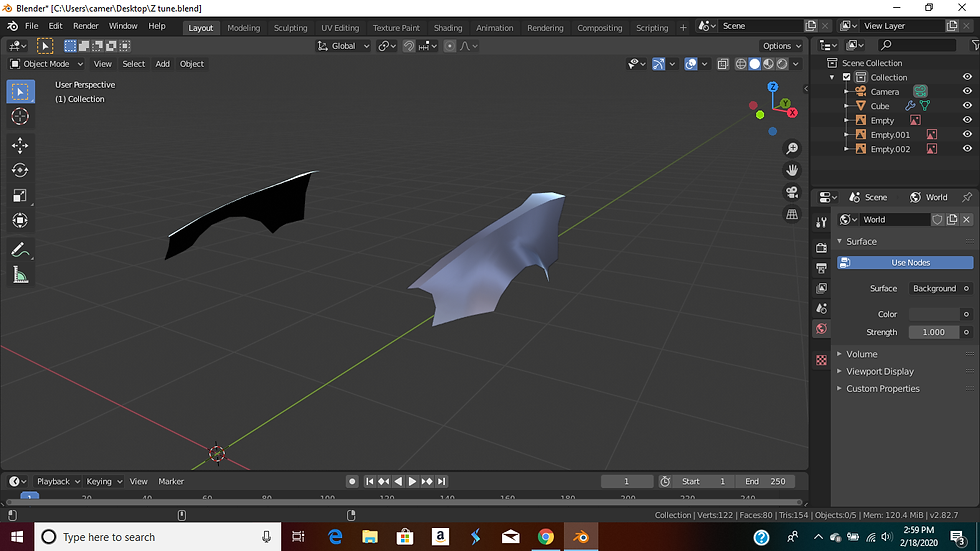
switched matcaps so you could see it better
now you have the same shading with good topoplogy
gonna wrap this up until i get back
but it''s useful
didnt crop bc i didnt have time
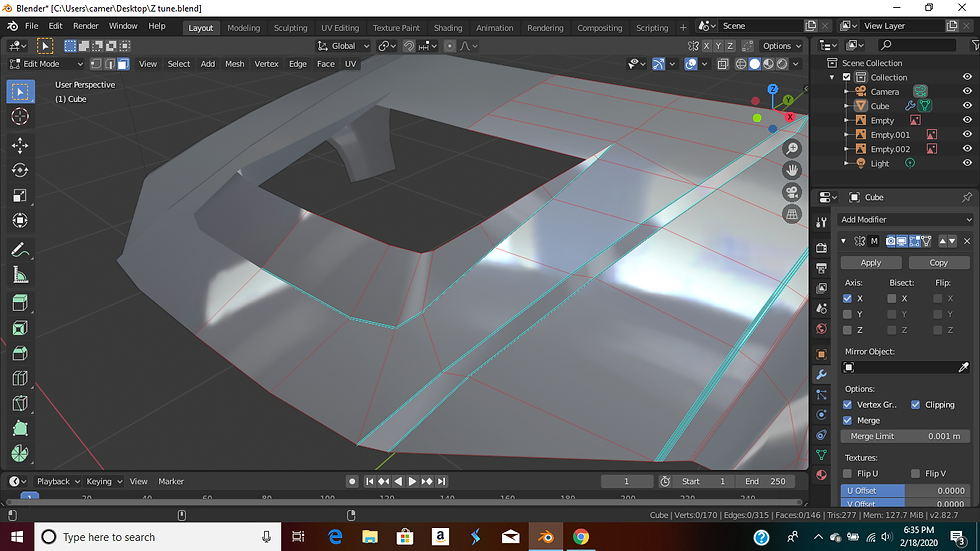
Alrighty part 3, tight spots

So after you model the fender or whatever panel, here comes the struggle with most of you

So the hood is a good place to start

So you can do this easier by making the normal hood first

You can cut where the lines are
press k and cut
And remove the parts not needed
so basically with the undetailed hood, we made a guide mesh
basically a mesh to go over and then detail

this is the tight spot
we'll focus on that as soon as we make the vent part

So after ya got this done
i assume
So remember when I said make it an even amount? THIS IS WHY So that you don't have to deal with tris
but if you do have tris, they arent always bad if they're flat enough and surrounded by good topology.


Comments